
Rag Doll Bow Tutorial
.JPG)
**This is my first attempt at making a tutorial!! I hope that it conveys the steps accurately, but if you have any questions, please feel free to ask.
What you'll need: hot glue gun, scissors, needle, thread, sewing machine, 4" X 56" of your choice of fabric, felt circle, alligator clip (or you can alternatively use a headband...I like using the clips because you can always clip it to the headband or wear it alone).
 |
Place the strip of fabric under your sewing machine foot and sew straight up the middle. The fabric will automatically start gathering as you sew it but it's ok...that will be the less you have to pull and gather it by hand.


Start by tying one end of the thread off. Next, on the opposite end, hold the bobbin thread (the thread on the under side of the fabric) as you pull the fabric so that it gathers together more. Once it's all gathered, tie that end off as well.

Fold the fabric along the sewn line and begin making hand-stitches every half inch or so as you wrap the fabric around itself to form the flower.

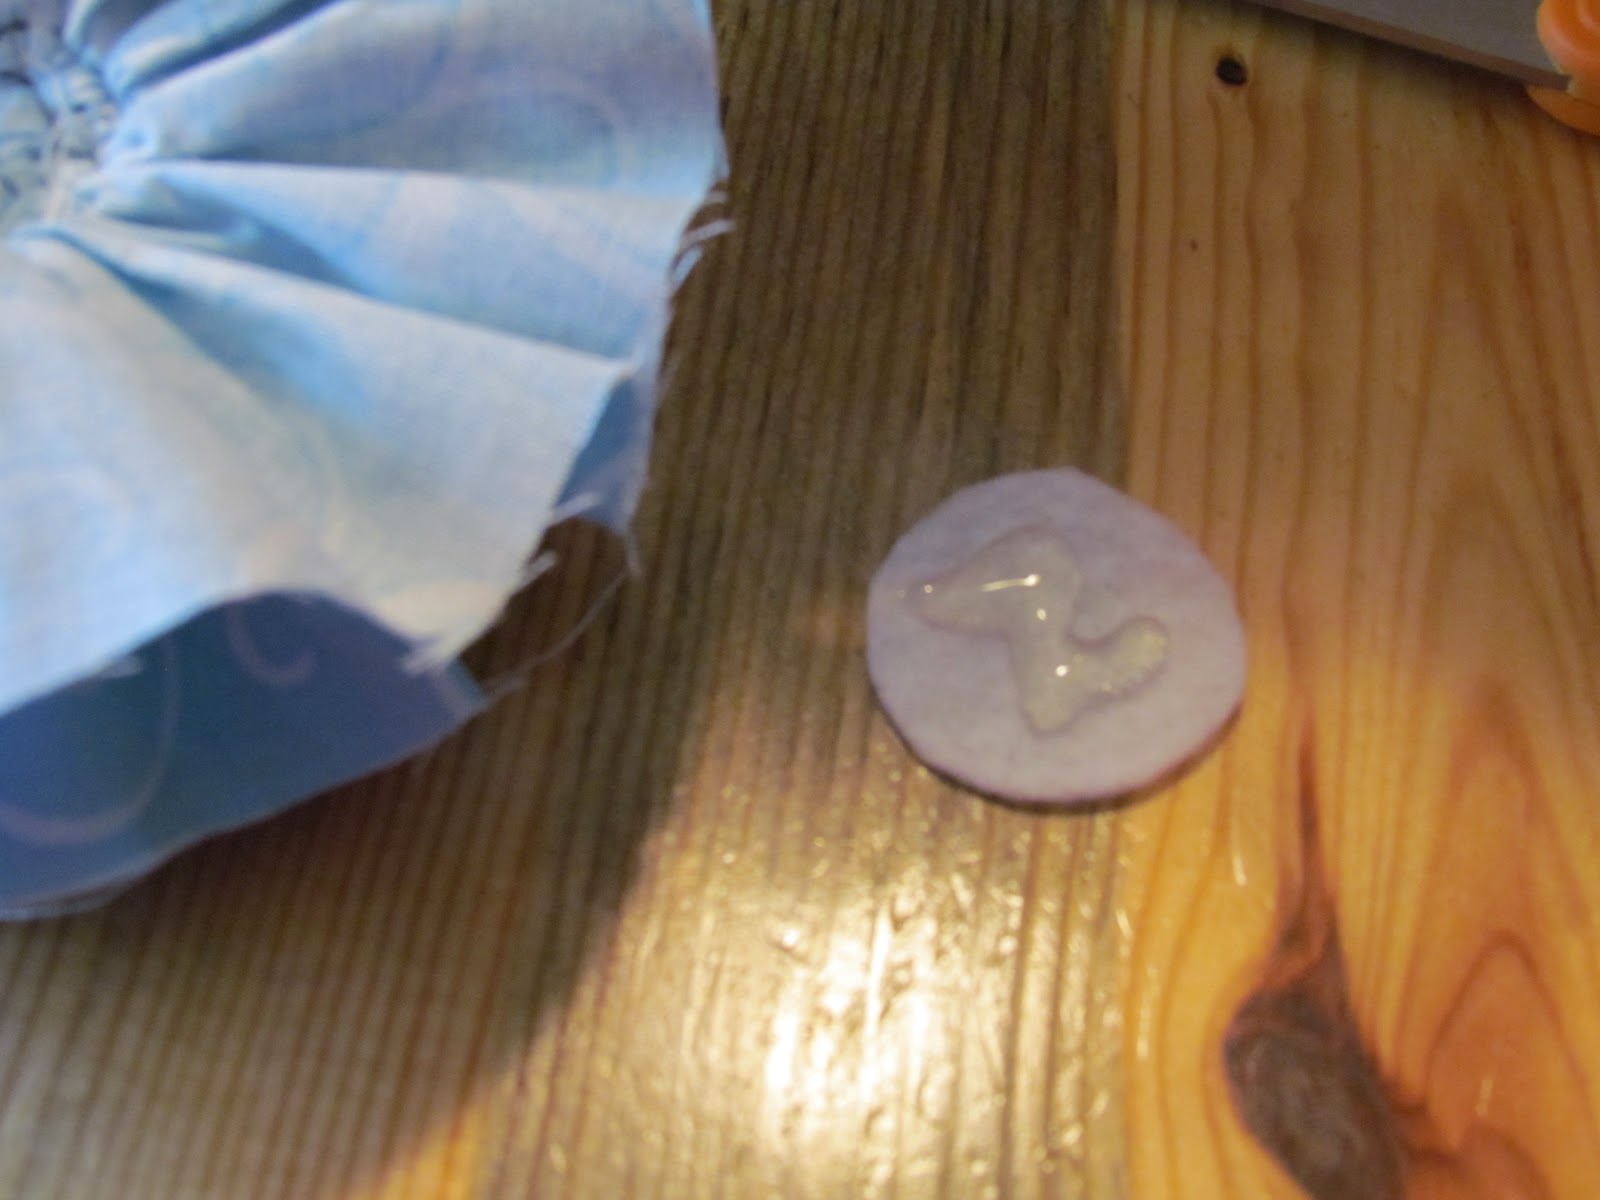
Dab a bit of hot glue on the felt circle and place it on the back of your bow.

Likewise, dab the hot glue on the top of the alligator clip and place it on the back of the bow.

This is what my finished Rag Doll bow looks like. It measures about 5 inches in diameter. I can't wait to surprise my daughter, Morgan, with it when she gets home from school this afternoon. Her new favorite color is turquoise! (Mine too!!)

Hope this Rag Doll bow tutorial has been helpful!!
~Jess
Tickled Pink Boutique
No comments:
Post a Comment